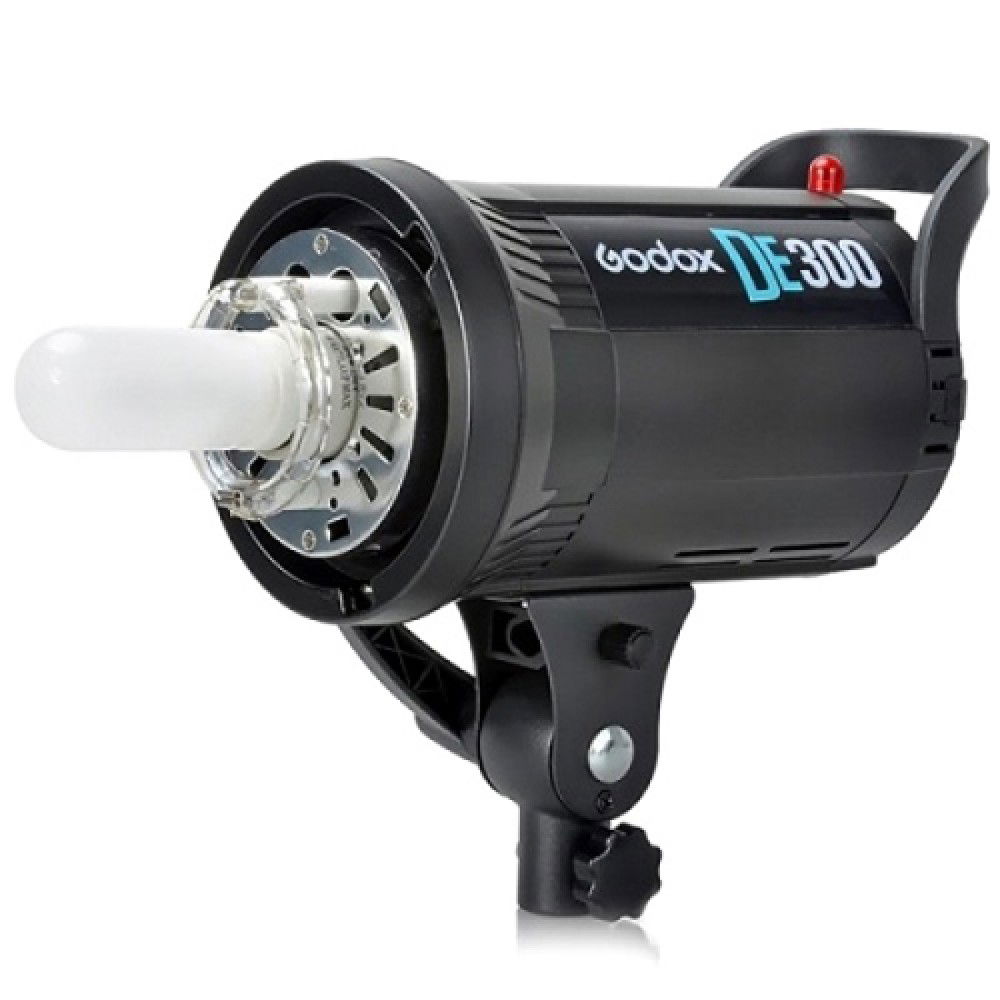
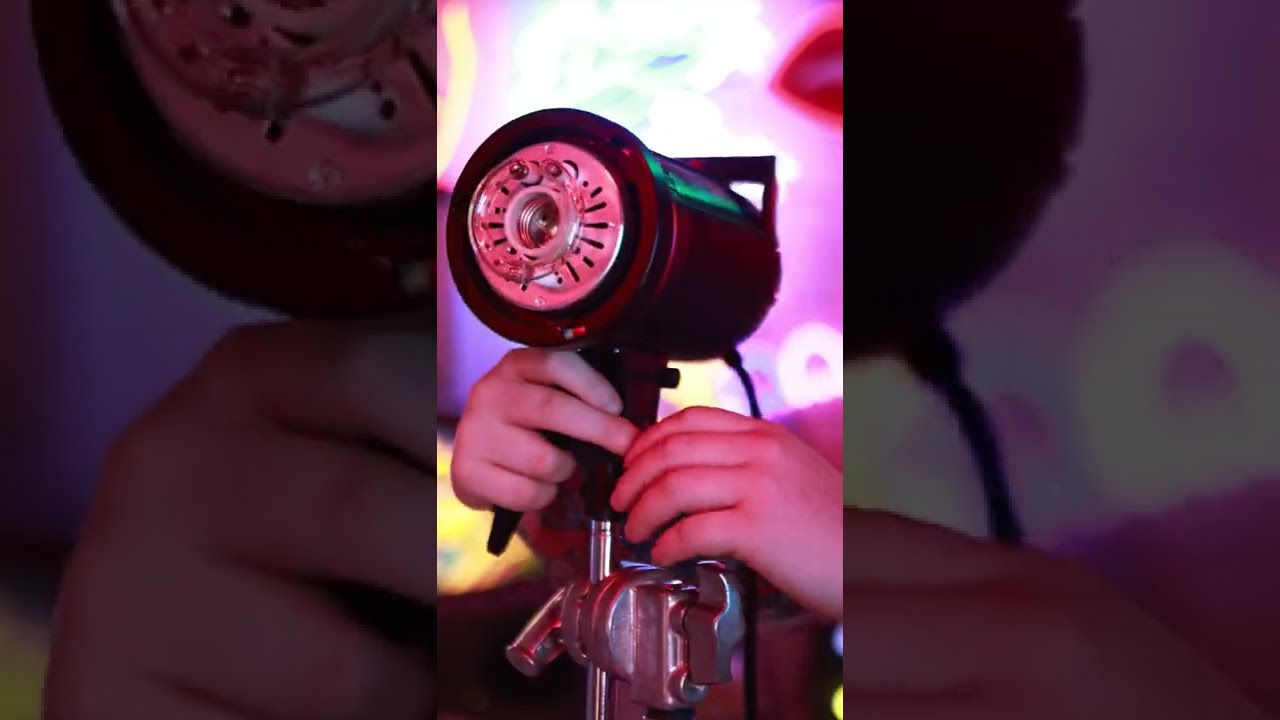
The Godox DE300 Studio Photography strobe - the budget king!
Episode 3 of 1 minute 101's v2
The Godox DE300 Studio Photography strobe
I'm reposting some old studio lighting blogs from my old site host on to the new one, as they may help those new to studio photography. I actually had a conversation just the other day with a client that covers things featured in these videos, so hopefully these will find you well, and that I don't find them too cringe while putting these blogs back together.
When I first opened Splash Point Photo photography studio, these were a staple, our main lights! I bought a brand-new set to go alongside those I already owned. I'd taken some of my favourite and best loved photos on these, but they had a bit of a reputation within the industry for overheating. I rarely had issues, and I found that if they did, it was typically just one in a batch of three, yet their pay-off for the price was worth it. Looking back to yesterday's blog however, I mentioned that when things go wrong, and they will, having experience in dealing with problems is invaluable! This wasn't for me though, I was creating a premium destination, and when offering a service, you don't want to frustrate your clients or use up their time while they wait for lights to cool down, so I replaced these with a set of older Bowens, which while not new to the market, are work horses with build quality.
Picture the scene, though. Several years ago, you could buy a 3 light digital studio set up with a Bowens s-fit mount to enable yourself to upgrade and expand your modifier collection with professional softboxes etc, and for just £250! And they were brilliant! Sadly, these days I do find the Godox DE300s overheat more and more in a working studio, so we typically only use them to cover any breakages in the short term, or to expand lighting set-ups to five or six plus lights! Speaking of which, we'll talk about mixing different branded lights and why this may be a bad thing, but equally, why it doesn't necessarily need to be feared, in a 101 blog down the line too!
Anyway, Godox have since also recognised their faults however, and they've replaced the DE300s with newer versions with inbuilt fans - but back in the day, these were a sought after powerful little budget gem! Of course, year-on-year as tech gets better, so do budget strobe lights available and the amount of different companies who are throwing their hat in to the ring.

Let's point out the elephant in the room that is not in our 101 video, and that's namely the modelling bulb. The strobe bulb is hugely powerful, the circular looking one, while the modelling bulb in this instance is the standard looking screw threaded one that's driven right down the middle. Modelling bulbs come in all shapes and sizes, and while strobe bulbs differ in size too, they are typically circular. In this day and age, modelling bulbs can be tiny LED panels, and not at all intrusive. In fact, that's the main reason I took out our modelling bulbs, because they're intrusive, and If I ever wanted to add gels (thin coloured plastic covers you once saw over theatre lighting - and you guessed it, we'll cover them in a video) over the lights inside of the softbox, then they get in the way!

What does the modelling light do?
They have two functions, really. For newer photographers, they can easily show you the direction of the light and how it's casting shadows on the model's face while creating a lighting pattern (yep, we'll cover that too), but what they can't do is convey the quality of light and true effect that the strobe will have given they're so soft and low powered. It's for this reason that their main use is simply to aid focusing in darker environments. Before mirrorless cameras could practically see in the dark regardless of their setting outputs for strobes, a dSLR needed light to find contrast details to focus on, and studios can be quite dark places in order as to avoid any ambient light being exposed in an image - so the modelling light was the solution. Most strobes will turn the modelling bulb off during the flash duration to decrease the ambient light and help with a solid, sharp flash exposure.
